THE INSTRUCTIONAL GUIDE

One4All Kit

1

Welcome to the One4All Stem Kit

Your kit empowers you to create amazing STEM projects with components for electronics, IoT, and automation. Dive into hands-on learning and innovation!

One4All Kit
  1. Tool Safety

Soldering Precautions:

Use a soldering stand to hold hot irons.

Work on heat-resistant surfaces.

Provide proper ventilation to avoid inhaling fumes.

Multimeter Usage: Ensure proper settings to avoid damage or injury.

  1. Sensor and Module Handling

Static Precautions: Handle sensitive electronics (e.g., sensors, microcontrollers) with anti-static wristbands or on anti-static mats.

Environmental Protection: Keep components dry and away from extreme temperatures.

  1. Solar Panels and Li-ion Batteries

Sunlight Exposure: Handle solar panels with care; do not stare directly at reflections.

Battery Handling: Use battery holders to prevent direct handling of cells.

  1. Packaging and Storage

Secure Packaging: Store all components in labelled, compartmentalized containers to prevent loss or mixing.

  1. Emergency Preparedness

Cut Power: Know how to disconnect power in case of a short circuit or overheating.

Fire Safety: Keep a fire extinguisher nearby, particularly when using soldering irons or batteries.

Safety Guidelines

  1. General Guidelines

Supervised Use: Always have adult supervision when students are handling STEM kits.

Read Instructions: Ensure all users read the included safety instructions before starting.

First Aid: Keep a first aid kit readily available in case of minor injuries.

  1. Electrical Safety

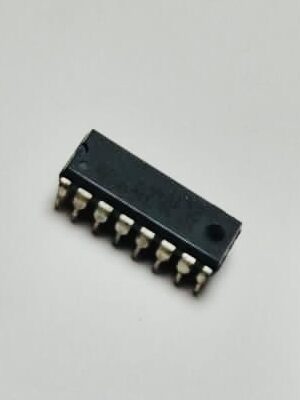
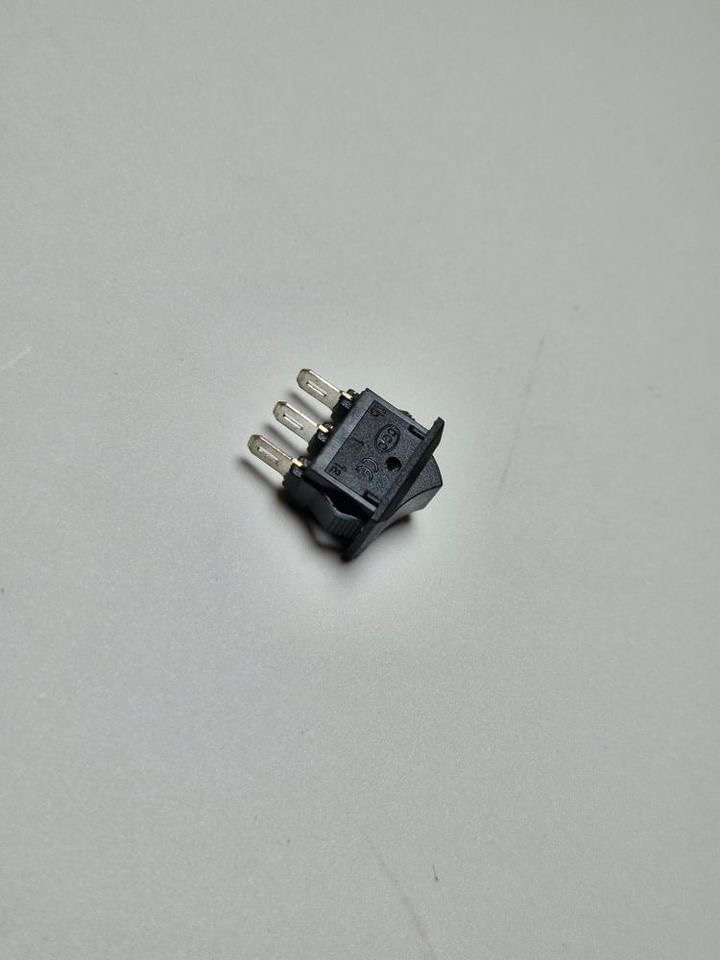
Low Voltage Components: Use components that operate at safe, low voltages (3.3V–12V) to minimize risks of electric shock.

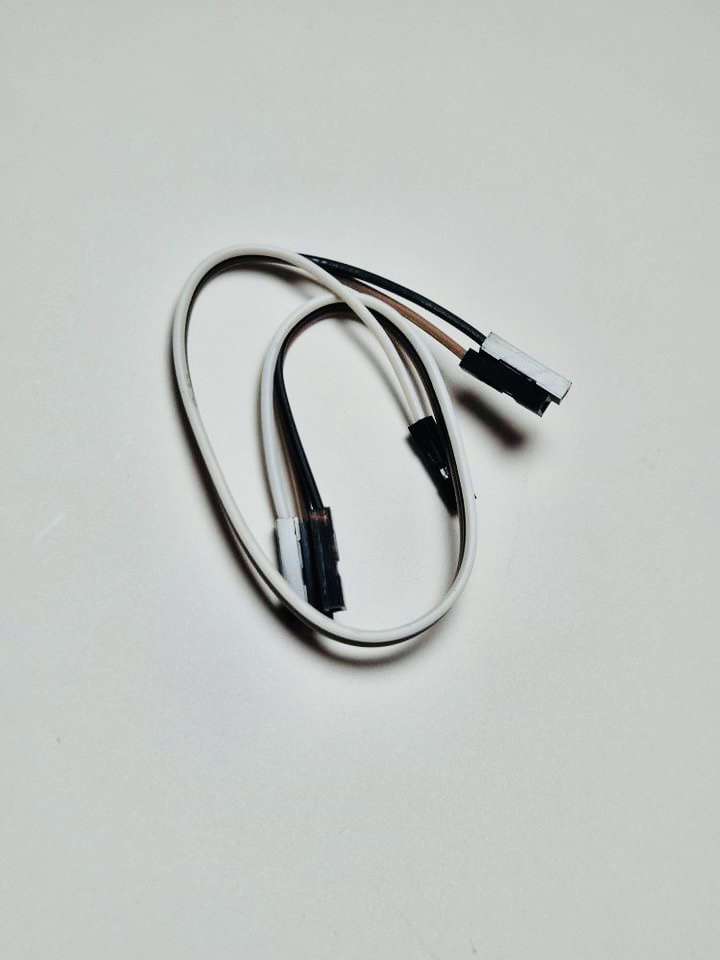
Insulated Wires: Ensure wires are properly insulated to prevent accidental short circuits.
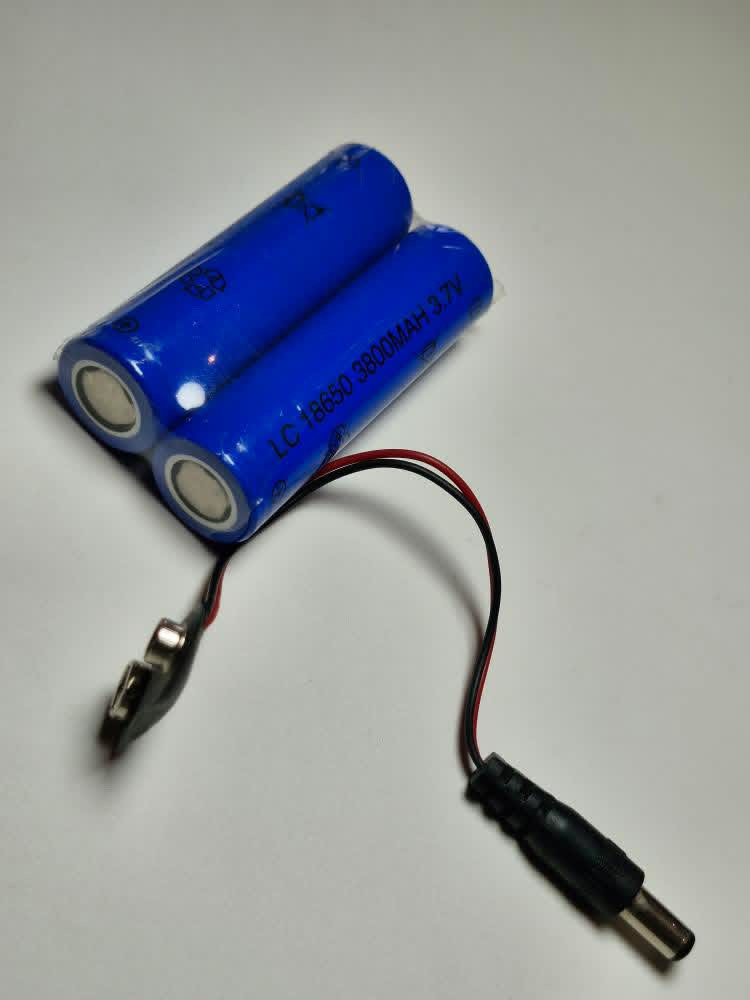
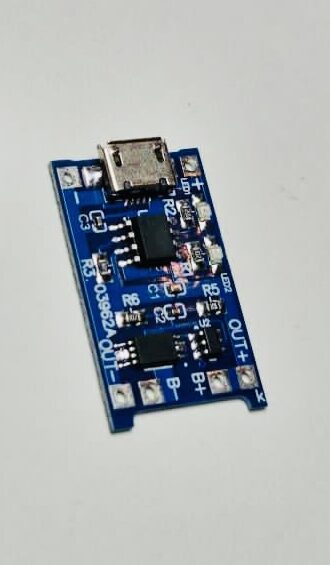
Battery Safety:

Do not overcharge or puncture batteries.

Avoid exposing batteries to extreme heat or moisture.

Use proper connectors to prevent reverse polarity.

Inspect Circuits: Check circuits for loose or exposed wires before powering them.

  1. Mechanical Safety

Sharp Edges: Ensure tools like screwdrivers and cutting tools are used carefully, and blunt any sharp edges on mechanical components.

Moving Parts: Avoid touching moving parts (e.g., motors) during operation to prevent injury.

Wear Protective Gear: Use safety goggles and gloves when working with mechanical tools or assemblies.

  1. Chemical Safety

(If the kit includes chemical components)

Storage: Store chemicals in labelled, childproof containers.

Usage Area: Conduct experiments involving chemicals in well-ventilated areas.

Protective Gear: Use gloves and safety goggles when handling chemicals.

2

3

Microcontroller (ESP32 NodeMCU) Setup

The ESP32 NodeMCU included in the kit is equipped with WiFi and Bluetooth, enabling remote control and IoT functionalities.

Microcontroller
PC Board & Headers
2 Chanel Relay
Boost Convertor & Push Button
Li-ion Battery & Connectors
Resistors
Charging Module
Capacitors

Power System Overview

Your kit includes a Li-ion cell (3.7V, 2000mAh), a boost converter, and a charging module:

4

5

Working with Sensors

The kit provides several sensors. Here’s how to set up and use a few of them:

  • IR Obstacle Sensor:
  • Light Sensor (LDR):
  • Gas Sensor (MQ5):
  • DHT11 Temperature and Humidity Sensor:
    • Application: Measure temperature and humidity.
    • Instructions: Use with the ESP32 for environmental monitoring.
    • Resource: DHT11 with ESP32 Guide
Smoke Gas Sensor
Temperature & Humidity Sensor
4-PIN LDR Light Sensor
LEDs
Brushed Geared Motor
Motor Driver Chip

Motors and Motion Components

  • Geared Motors (6V-9V):

6

7

Working with Connectors and Headers

  • Jumper Wires and Silicon Wires:
    • Jumper Wires: For low-power connections like sensors and LEDs.
    • Silicon Wires: For high-power components (over 0.5A current).
  • Headers: Link the microcontroller to other modules using headers and jumper wires for stable connections.
  • Resource: Jumper Wire Basics
Male & Female Connectors
Jumper Wires
Rocker Switch

Sample Projects

  • Project 1: Smart Light Control System
    • Components Needed: ESP32, LDR, LED.
    • Instructions: Use the LDR to detect light levels and automatically turn an LED on/off.
    • Code Example and Guide: Smart Light Control with LDR
  • Project 2: Simple Temperature and Humidity Logger

8

Shopping Basket
Scan the code